
Hot Tub Breaker Trips? Quick Answer, Then the Heater Fix
Posted by Spa Shopper on Nov 16th 2026
The quick answer, for a tub that trips the breaker
You reset the breaker and it trips again. The breaker goes all the way off, you push it back on, and it trips. You want to know what is causing it before you start buying parts.
Here is the short version from The Spa Guy. Unplug the extras one at a time and try the breaker. If it still trips, disconnect the two heater wires and try it again. If the breaker holds and the pumps come on, the heater is bad.
The rest of this post explains how to do each step, what else can cause a trip, and how the heater swap goes.
The full explanation: test first, then replace
Start with the simple eliminations. If your tub has a blower, unplug it from the pack and reset the breaker. Next try the ozonator, a small ozone device that is usually plugged in on the side of the pack. The pack is usually labeled, so you can see what is what. Then unplug the circulation pump and each jet pump. Mark every plug so each one goes back where it came from.
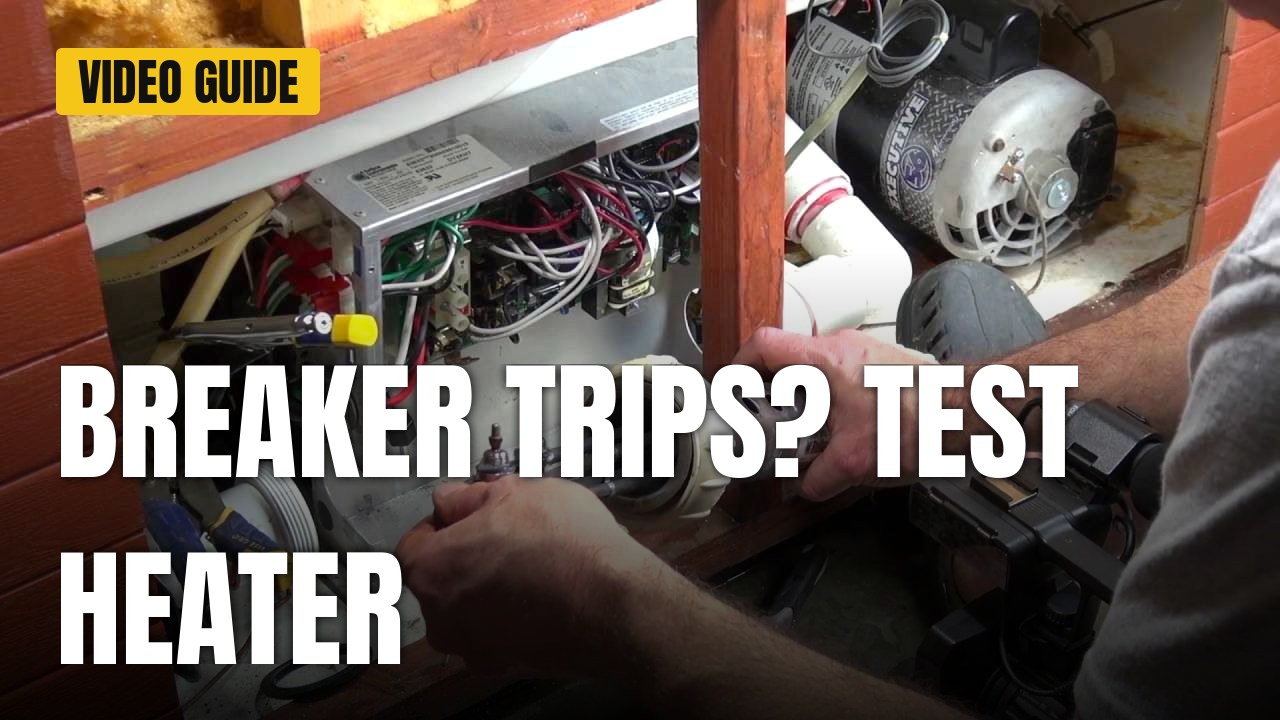
If the breaker still trips, isolate the heater. With the power off, use two wrenches to loosen the nuts and pull the wire tabs off the heater. Hold the bottom nut with one wrench (a 1/4 on this tub, 3/8 on some) while you loosen the top 3/8 nut with the other. That keeps you from twisting off the electrode in case the heater turns out to be fine.
Be careful once the power is back on. The Spa Guy points out there is 115 volts on each leg of the heater, so it can shock you.
In the video the breaker held and the pumps came on once the heater was disconnected. Touching the wire back to the heater tripped the breaker right away. That confirmed a bad heater. A clue was rust around the edge of one leg, which he says shows the heater leaking up from the bottom through the epoxy on the inside.
To swap it, isolate the water first rather than draining the tub. Close the slice valves on both sides of the heater. Pinch the bleeder hose with needle-nose vise grips, and he found pinching at an angle works a bit better. His slice valves did not hold well on this older tub, which he says happens with age. If you hear water gushing when you loosen a nut, look for an air bleeder, and if there isn't one, the valves just may not hold.
Then loosen the bands, pull the M7 sensors out of the heater tube and take out the tube. Turn off the two 3/4 inch (19 mm) nuts and slip the old element out. Clean the rust out of the tube with a wire brush. Check the O-rings and use a little silicone around the threads and O-rings. The Spa Guy uses titanium elements, which he says resist salt and sanitizers like chlorine but are not impervious.
Slide the new element in and tighten the nuts while holding a finger inside to keep it off the wall of the tube. The element should sit in the center and not touch the sides, because touching creates a hot spot. Back the nuts off a little to line it up. Put the sensors back in, replace the gasket if it has been a while, and tighten everything only after the bands are on. He notes chemicals eat gaskets up over time.
Refill, open the slice valves and listen. Air hissing out means a leak, so find it and snug things up. Then power up and watch the test fire. On this tub the board heats the element for about 8 seconds and looks for a rise of about 3 degrees between the two sensors. This tub gave a flow code because of trapped air, and bleeding the air out fixed it.
Who is behind the advice and the parts
Spa Shopper is owned and run by The Spa Guy team, the same people who make these videos. The walkthrough above is from the people who sell the parts.
What you get from doing it this way
- You find out whether the heater is the problem before you buy one, by unplugging items and then disconnecting the heater wires.
- You skip chasing the transformer. He has serviced about 7,000 tubs and has never seen one bad, apart from a single Sundance.
- You can usually swap the element without draining the tub, using the slice valves and a pinched bleeder hose.
- You know what a correct install looks like: clean tube, silicone on the O-rings, element centered and not touching the sides.
- You have numbers to check against, such as about 10.6 ohms across a good 5.5 kW heater and about 15.5 on a 4 kW, and about 20 amps on a 5.5 kW when it fires.
- You know what to look for if the heater is not the cause, such as wiring that is wrong on a brand new install or something man-made like a wire pinched in a collet.
Get the parts and watch the video
If your test points to a bad heater, shop Spa Shopper for the element and any gaskets you need. The Spa Guy says the same process works on all brands, though parts like sensors and pressure switches vary.
Watch the full video to see each step done on a real tub, including the test fire and the bleeding of the air.